- Click the Apple icon in the top-left corner your screen.
- Go to System Preferences.

- Click on Printers and Scanners. On older Mac models, this will appear as Print & Scan under Hardware.

- Click the + sign below the list of printers. For older Mac models, you might have to click Add Printer or Scanner after you click on the + sign. You might also see printers detected by your Mac under Nearby Printers in the Add Printer or Scanner submenu.

Note: If you cannot click on the + sign, you might have to click the Lock icon at the bottom of the window. Type on your password to make changes in the Print & Scan menu.
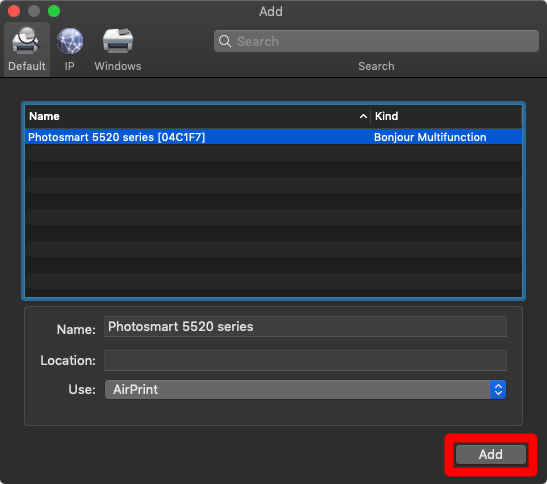
- Select the printer you would like to add. In the Default tab, your Mac displays a list of discoverable printers on the network.

- Choose the printer’s software or driver in the Use field. Choose "Select Software":
- For the PLC_Workroom Printer select "HP LJ 300-400 color M351-M451"
- For the TeacherWorkroom Printer select "HP LJ 300-400 color MFP M375-M475"
- For the 3rd-4th_Grade_Printer select "HP Color LaserJet Pro M252"
- For the Library Printer, it should auto-select "HP Color LaserJet CP3525", if not select that from the "Use" field.
- For the RM_243_Student_Learning_Room Printer select "HP LJ 300-400 color M351-M451"
- Finally, click Add. The new printer will be added to the list of printers. You will be able to see this on the left-hand side of the Print & Scan window.